
So for my first post I thought I would do a tutorial! Usually I’m terrible at nail art, but this was so easy and the effect was amazing! Here’s what ‘Galaxy Nails’ look like:


All you need for this nail look is a black nail polish, a range of brightly coloured polishes, a glitter polish and a cosmetic sponge!
I used TEN polishes in total when doing my galaxy nails, including a base coat, two glitter polishes and a top coat. Here they all are:
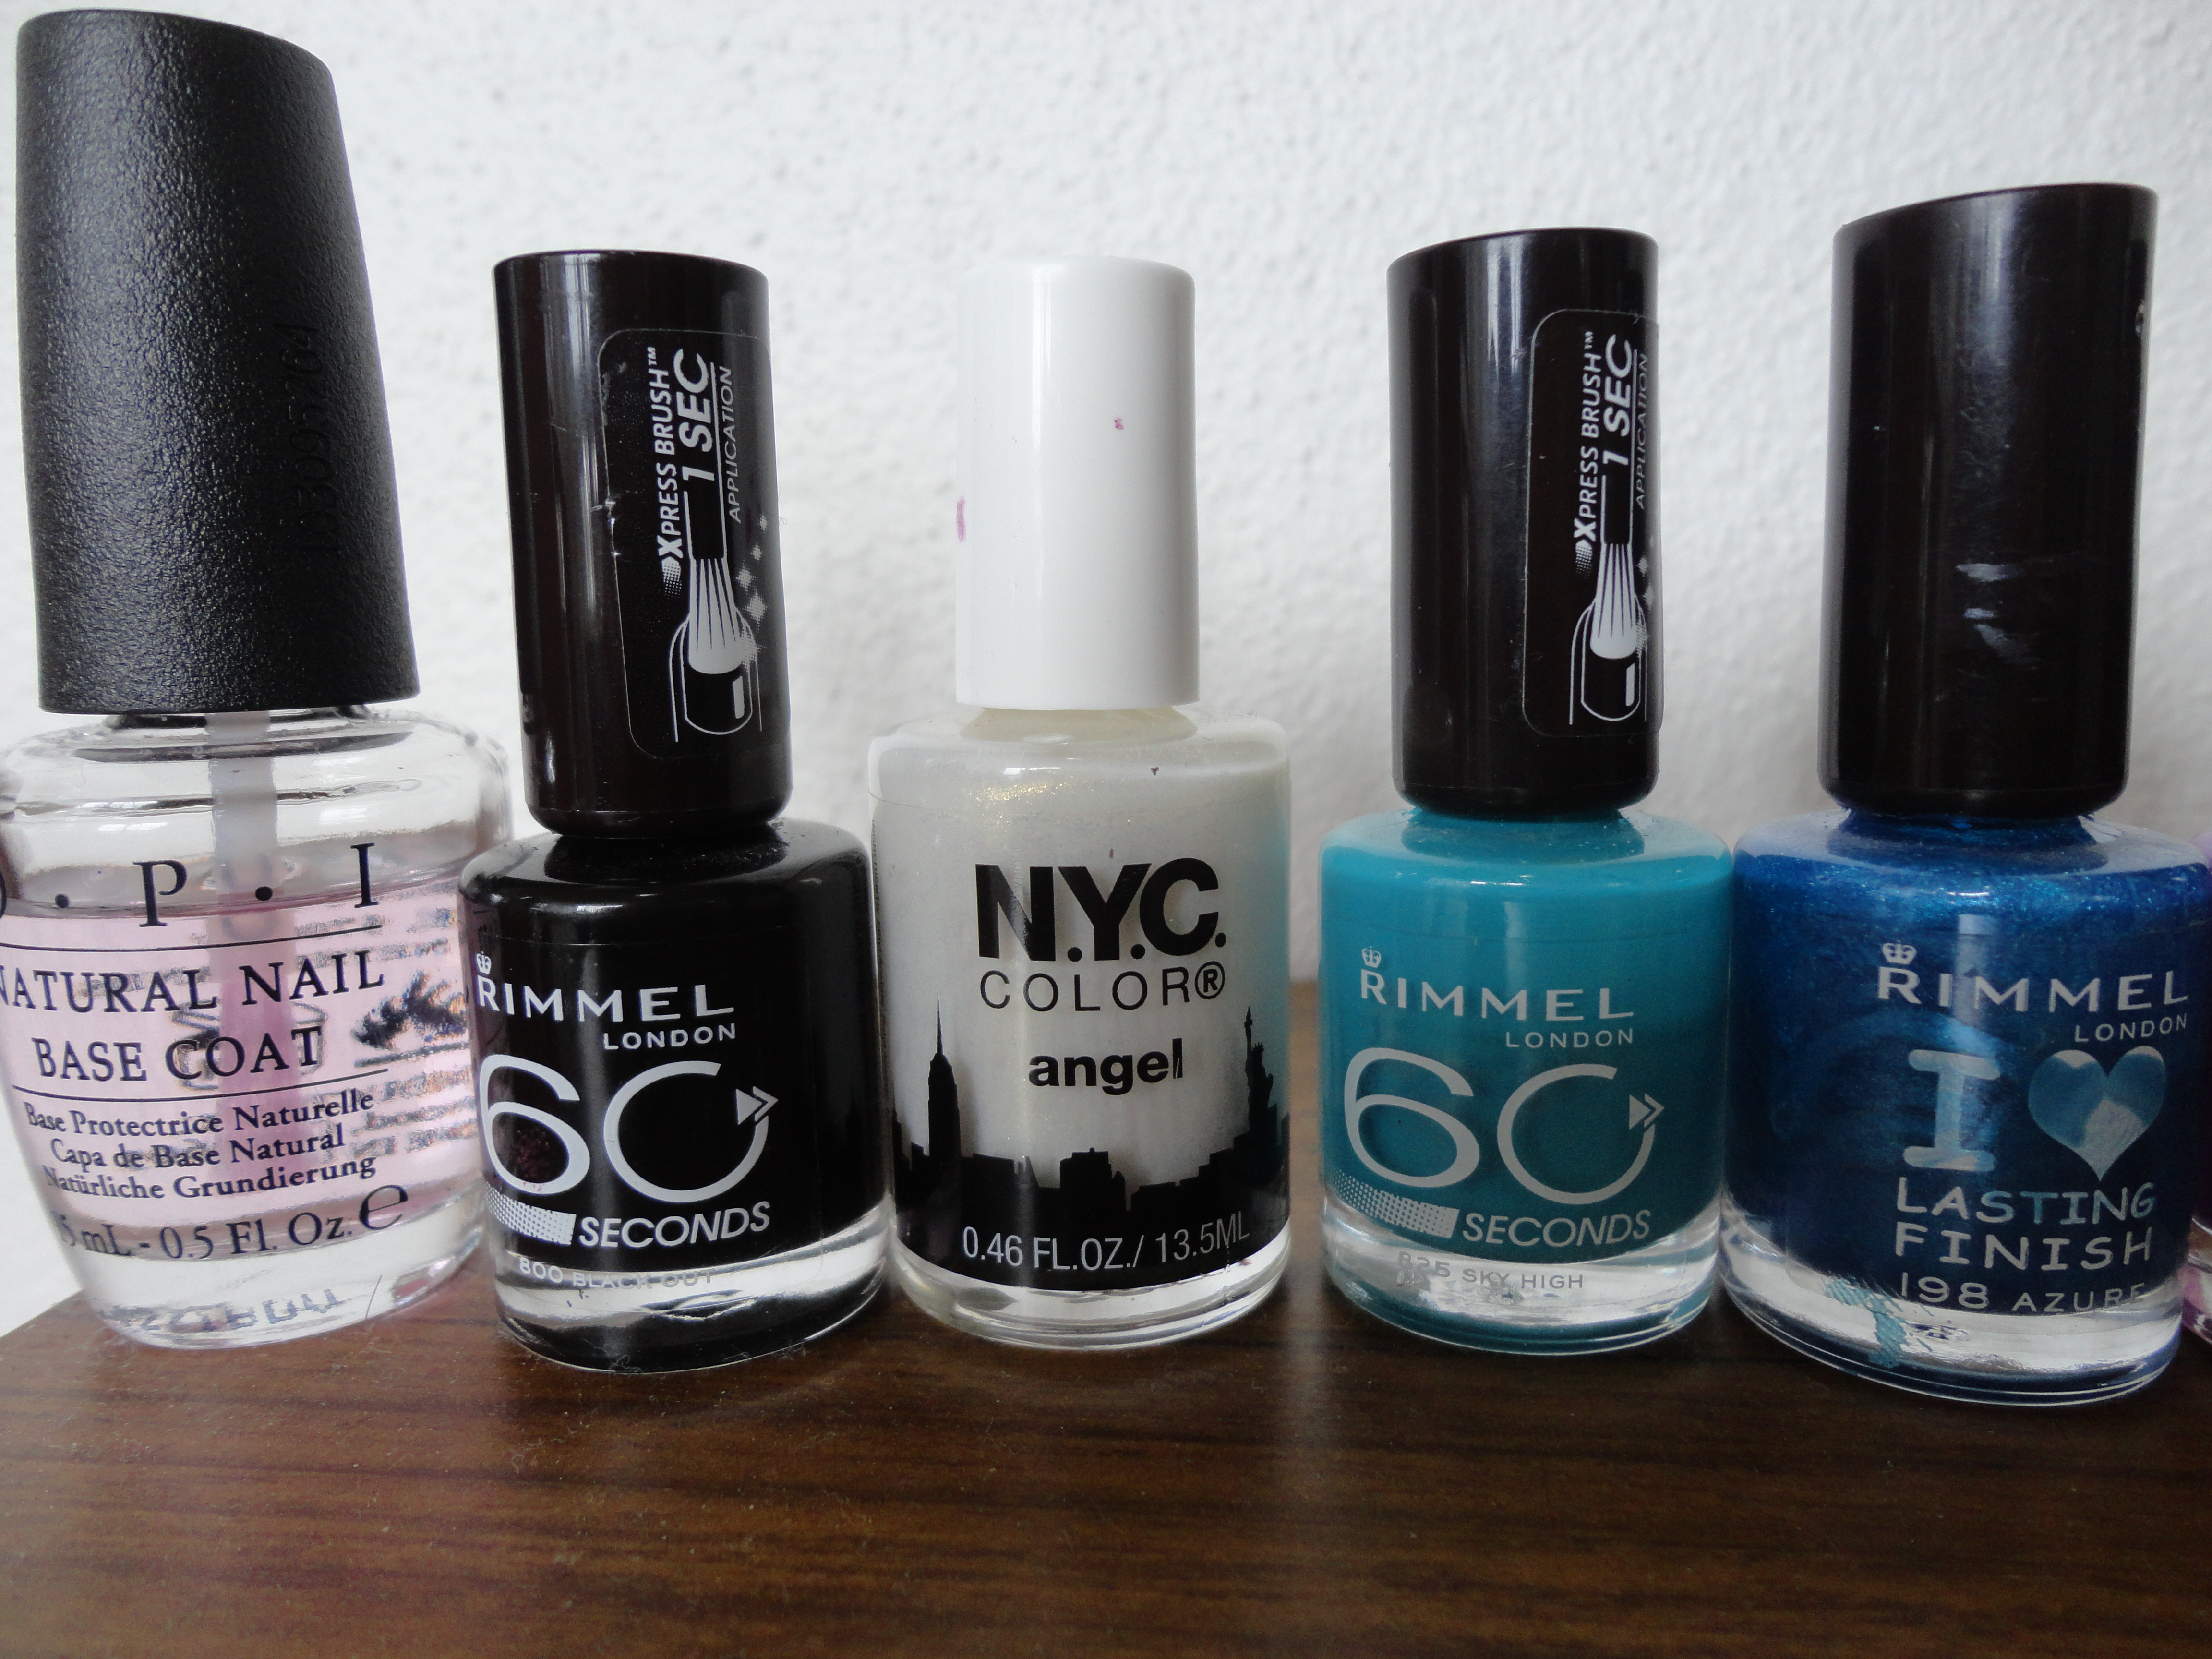

First start off with a base coat to protect your nails, then with a plain black polish. I used OPI Natural Nail Base Coat and Rimmel 60 Second polish in Black Out.

Then you take a cosmetic sponge and your first colour- use a fairly light pale colour first. This colour will be completely covered up by your other bright colours. I used NYC Color in Angel, which is a white with a gold shimmer in it. Take some of your colour on the sponge and dab it onto the nail. This will form the base of your nebula. It doesn’t have to be uniform- just across some of the nail.

Then I used the sponge to layer on two more colours, Rimmel London’s Sky High and Azure.


Then do the same with more bright colours. I used Rimmel’s Purple Reign and NYC Color’s Shocking Pink.


Then I go back and blend in any other colours, then add glitter! I used two glitter polishes, NYC Color’s Sprinkles and BYS Black Sparkle. To top it off use a top coat (I used OPI’s Rapid Dry Top Coat). 
Ta da! Galaxy Nails. Hopefully you found this helpful! 🙂
xxx
